Thursday, April 29, 2010

Birthday Card - Penny Black Saturday Challenge

I made this card for the Penny Black Saturday Challenge http://pennybfriendssaturdaychallenge.blogspot.com/ this week, and also entered it in the Simon Says Stamp challenge http://simonsaysstampschallenge.blogspot.com/.   The requirements for Penny Black were to use three flowers, two buttons, and a bow.  Simon Says challenge was buttons, bows, and bling!  Not a problem for me, cuz I love my flowers, and bows, and buttons, too!  I thought I had finished it, but something was missing, so I went back and added some bling.  Can't help myself, I love my bling!!  So, here it is the card:

Hope you're having a good week.  Tomorrow's FRIDAY!!!!  Yay.  TGIF.  Keeley's coming tomorrow for the weekend, so we're getting ready.  Got some snacks, her favorite foods for meals, some fun things to do, and my camera's all ready.  It's supposed to be nice, so we'll be outside a lot, I hope.

Hope you have some fun plans, and get to enjoy the outdoors this weekend.

Blessings and peace,

lynda

Tuesday, April 27, 2010

Technique Tuesday - Fold-Over Card

Sometimes I get tired of the same old card style, and like to shake things up a bit.....try different openings, folds, etc.  Today I'd like to share a card with a simple fold-over front. 
Stamps are Penny Black, punch is Martha Stewart.  To make the card, simply fold back the front of an A2 size card.  I made the image hang over the edge slightly, adding interest.

That's it!!  Simple, clean, and pretty.

Hope you're having a great week.  Looks like some nice weather coming this weekend!!!!!  Get out and enjoy!

Blessings and peace,

lynda

Monday, April 26, 2010

Blue, White, and Gold Blossom Card

I made this card for the Basic Grey color challenge this week.  Blue, Gold, and White were the colors, and definitely a challenge for me, as these are not my usual "go to" colors, but thought I'd give it a try.  As I was making the card, I thought of a couple of other challenges I could tie it in with, and so have also entered it in Card Patterns Sketch 61 challenge, and Our Creative Corner's "blossoms" challenge.  Sorry, my Blogger is giving me some problems adding links today, so I will try to come back and add the links later or tomorrow.  I also cannot access my comments, so please be patient, and hopefully blogger will iron out these snags and I can publish your comments and get these links up for you.

So, here's the scoop on the card.  I used Basic Grey paper for the background, and have to admit, I do love this shade and the lovely swirl design on the paper.  I created the gold edge with a gold leaf pen. I chose a dark blue card stock to highlight it, and had a half sheet of this wonderful gold paper in my stash.  I used my Spellbinder's Nestabilities Blossom die for the flower blossom.  I cut three sizes, two from gold, one from white.  Next, I distressed the bejebers out of the edges of the petals by folding and rolling the edges, even tearing them a little.  I love the way the white back on the gold paper highlights the edges.  I stacked these petals together with foam tape between to creat the blossom. I used my gold leaf pen to paint a button gold, and tied gold metallic floss through it. With the blue cardstock, I freehand tore petals, and repeated the rolling technique.  I stamped Printworks' happy birthday and celebrate stamps with Brilliance gold ink on the petals, them foam taped them from the blossom.  On the border strip of blue, I used the Cuttlebug embossing folder to create this elegant swirl, then swiped my Brilliance gold ink pad over the raised image to highlight.  Then I finished off the card with some gold brads, and a matching blue bow.

Hope you enjoy, and do come back to check out these links.  I encourage you to enter some challenges. It's fun, and really stretches your creativity.

Blessings and peace,

lynda

Wednesday, April 21, 2010

Crystals and rhinestones - Cards and pages with bling!

I have a "stash" box (or two or three) of stamped pieces, background pieces, technique sample pieces, well, you get the idea.  These are things I made lots of, as in the case of backgrounds and/or technique samples, perhaps for a demo or class, or just because I like playing and can't stop when I'm having fun with an idea or technique.  Some of the items in the boxes are stamped things, like images of something I like, or a stamp I used when stamping with a friend and borrowed her stamp to make a bunch of images to "use later."  Sometimes, when I'm stamping something, I'll often stamp two, and stash the extra in the box.  Or, I'll stamp something, then get another idea and decide to can the image, in, which case, it goes in the box.  So, needless to say, these boxes get quite full after a while.

Last Friday I got together with a friend to stamp and/or scrapbook.  I was having one of those days where my mojo was gone, MIA, non-existent!!!!  No mojo to be found....anywhere.  Karen was happily scrapping away, pumping out page after page, and there I sat, fidgeting, starting and stopping, tearing up stuff I started, thumbing through magazines, just basically wasting time.  I couldn't get an idea to save my life!!!!  YES, IT DOES, DOES, DOES happen to me!!!!

Then I decided to check out one of my boxes.  I figured I might as well just pull out an image or two and at least color it.  I could still color, even if I couldn't make a creative move due to my mojo-lessness!

 Out of the box came this adorable little girl.  I had six of them stamped on a sheet of white cardstock.  I cut one out, and proceeded to color it with my Prismacolors (colored pencils).  As I colored, a funny thing happened.  I really got into it, and started thinking of ways I could use this little girl on a card.  I chose bright colors, and went to town.  All the while, the wheels were turning.  Turns out, all I needed to do was to start doing something, then the ideas started to come.  After I got her colored, I cut her out, then started picking out colors for papers for a card.  By now, Karen was getting curious, and I was finally in my mojo.  I trimmed, and punched, and shifted the pieces, playing with the arrangement, placing embellishments.  Then, it was finished!  I had to give a couple of the images to Karen, and went home with the rest, one of which will soon be on a scrapbook page of Keeley.  I could just see her on a page with Keeley playing dress-up with her mom's heels and purses, and jewelry!
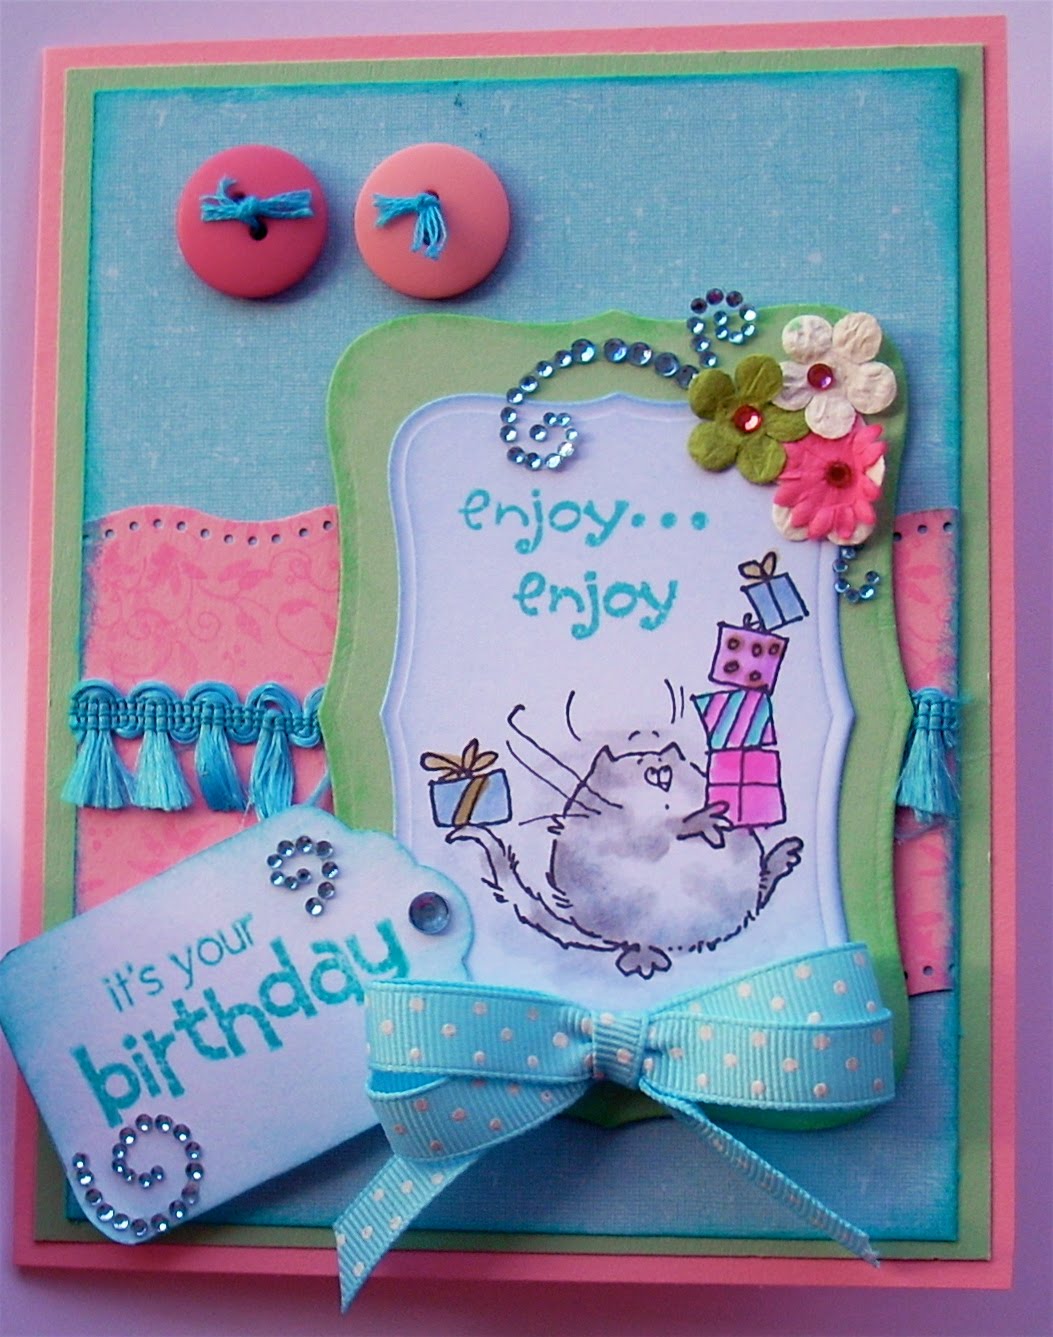
Here's the card:
 And now for the secret I told you I would reveal today.  Those rhinestones started out as clear crystals, and I dyed them pink and green.  How?  With my Peel Off markers!!!  That's right, just color right on the crystal, and Viola!  Colored crystals.  If you don't have the Peel Off Markers, you can use Sharpies, or any permanent marker.
 Close up of the rhinestones colored with the markers.

This opens up all kinds of possibilities.  They also work on the little pearl embellishments, on your Peel Offs and other brand metallic stickers, of course, metal embellishments, brads, eyelets, even acetate!  Now, don't even tell me that your creative juices aren't going crazy right now!!!  Mine are.

I'm off to my craft room.  Maybe I'll even be back tomorrow with more cards to share!  Enjoy your evening!

lynda

Tuesday, April 20, 2010

Technique Tuesday - All-over glitter

You have a great card idea, and a terrific image you're itching to use.  You pick your colors, cut your papers, select your embellishments, and determine your layout.  You carefully color your image, trim, and mount your image on the card.  When you survey your finished card, you feel it needs something.  Sound familiar?

Often, when this happens to me, I reach for the glitter.  A little bling usually is just the right touch.  Here's a technique that glitters the entire image panel for a really impressive look, like on the cards you find in the store!  It is easy to do, and you probably have all the materials in your craft room.

Here's the card I made.  The owl image panel (Hero Arts stamp, flower Spellbinder's die) has been glittered.

What you'll need:

- Multi crystal ultra-fine glitter
- Clear embossing powder
- VersaMark or other clear embossing pad

Directions:
- Mix embossing powder and glitter with equal parts each.
- Stamp image and color with desired medium.  I colored the owl with markers.  Heat set.
- "Ink" image with VersaMark pad (tap pad all over the panel with the image on it)..
- Cover inked image with embossing powder/glitter mixture, heat emboss, and you're done!


No, your eyes are not playing tricks on you.  The pictures with the instructions do show a shoe image.  I changed my mind and used the owl instead.  Oh, yeah, and I mistakenly used the wrong embossing powder on it.  I used a silver/clear glittered powder, instead of my home-made clear glitter/clear powder mixture.....not so pretty!

So, go ahead and bling it up!

 Blessings and peace,

lynda

Tuesday, April 13, 2010

Technique Tuesday - Paper Toling

Magenta is one of my favorite rubber stamp manufacturers. I love the detail in their images, their variety, and the quality of their stamps.  I made this card for a Magenta card swap, sponsored by Picatso, resident cat at Magenta.  I love Magenta's stamps for colored pencils, which is the medium I used on this card.  I also love that many of their stamps make wonderful backgrounds, like the swirl stamp I used on the background here. I inked it up with VersaMark ink, and stamped it repeatedly to create the swirl background.
The technique this week is paper toling, which is actually raised images.  On this card, I toled the nature sign, the bird, and the bird's heart wing.  To tole, simply stamp the images two or three times.  Color the main image, but do not color the parts that will be toled. Color the second or third copy of those parts. Then cut them out and add them to your main image using foam mounting tape!  It's that simple, and adds so much dimension and interest to your card.

This is the bird portion up close, so you can see the toling detail.

Hope you are making some time to stamp!  Try a new technique or two, or stick to the tried and true. Just get out your toys and play.

Blessings and peace,

lynda

Wednesday, April 7, 2010

Technique Tuesday - Distressed Vellum With White Highlights


I love the look of this technique.  It's features the elegance of vellum, yet has white highlights to make it exciting.  Here's how it's done:
  • Stamp image onto vellum panel. I used Tim Holtz Distress ink. Heat set to dry quickly.
  • Turn piece over onto a piece of craft foam. Using an embossing stylus, run the stylus along any areas you wish highlighted. I highlighted the hash marks the stamp image had on it. Press lightly, as you don't want to poke through the vellum.
  • Sponge ink onto back of image (same side as you "embossed" with the stylus). Heat again to dry ink. Adhere to cardstock panel.
 Here's a close-up of the white lines caused by embossing the back of the vellum with the stylus:

Tips:  -Press firmly enough to get the raised, white lines. Turn the piece over frequently as you work to be sure the marks are showing.
-Do not press so firmly that you poke through the vellum.
-Use heat tool to dry vellum after inking. Do not get too close, as you don't want to burn the vellum.

That's it!  Hope you'll give this a try, it's really fun to do, and you'll love the results.

Blessings and peace,
lynda

Friday, April 2, 2010

Butterflies and Bees!

Let me tell you 'bout the birds and the bees, or is that butterflies....well, maybe I'll just show you this card I made for the Penny Black Saturday challenge (theme was butterflies or bees) http://pennybfriendssaturdaychallenge.blogspot.com/ , and also for the Caardvarks challenge (which was to use lace)  http://caardvarks.blogspot.com/ this week.
Of course, the stamps are all Penny Black. I used my favorite color, and the faux silk technique that I blogged about a couple of weeks ago (love, love, love that background technique). I dyed the white pearled lace purple by sponging purple ink on it from my purple ink pad.  The image is colored with colored pencil, and I used a stencil to sponge the sky.  If you'd like to see this closer, just click on the picture and it will enlarge...then you can see the faux silk detail in the image part.

And here's the card:
That's it for today.  Hope you can get out and enjoy the SUNSHINE!!!!  What an awesome day...so much to be grateful for.
Blessings and peace, and a very happy Easter!
lynda