Tuesday, May 31, 2011

Technique Tuesday - Bleach With Black Card Stock

Using Bleach on Black or Dark Card Stock - 
Last technique in black card stock series
The black panels with the flowers on this card were done with this technique.  I took some black card stock scraps, "inked" my flower stamp using bleach, then stamped it onto the black scrap.  After dry, I cut the flowers into rectangles, layered, and added to my card.

It's easy to use bleach on your black and dark colored card stocks, and it yields a very dramatic look.  
I use a piece of Cut n' Dry for my "stamp pad."  
Put some bleach in a small bowl or container, then dab the piece of Cut n' Dry into the bleach.  
Have the pad wet with the bleach, but not dripping.  You want enough bleach to get the stamp covered with bleach, but no so much that it's dripping off the stamp.  
Dab your stamp onto the pad, or bring the pad to the stamp, then stamp the image onto your card stock. Hold the stamp down for a few seconds to enable the bleach to really get into the paper.
That's it!!!  Easy-peasy, and oh-so-fun!  
Give it a try....just be careful with the bleach...we all know what happens when bleach gets onto clothes!  Word of caution...wear something old!!  (ask me how I know).

On this card, I stamped the image with permanent black ink, then used a paint brush with bleach on it to paint out the bleach areas.  Just brush anywhere you want the color removed.
Inside of card with bleached panel
Close up of bleached flowers


This last piece is just a panel I did.  As I've been working on my bathroom (yes, STILL) all day (yep, in 90 degree heat) with my true friend Sylvia, I didn't have time to finish a card for this last piece.  But, I love the image, and the way it bleached out, so, here it is:

Close up of bleached flower
That's it for tonight, folks.  Thanks to everyone who ordered Bow-Easy's from my Etsy site.  I have only four left, so if you haven't ordered, hurry on over, or send me an email to arrange local delivery/pick up.  Here's the link to my Etsy site, Tattered Daisy http://www.etsy.com/people/TatteredDaisy?ref=si_pr .  Or email me at thestamppad@yahoo.com .  If I get enough orders, I will order more.  They take a couple of weeks to arrive when I place the order.

Now I'm off to soak in the bathtub!!!!

Blessings,
lynda

Thursday, May 26, 2011

Bow-Easy Makes Bow Making Easy and Fast

Greetings friends,

I have had so many inquiries about my bows that I use on my cards and projects, and have answered many pleas for help by directing you to the tool I use for all of my bows, the Bow-Easy.  Do you struggle with making small bows for your cards and paper crafts?  Feel "all thumbs" when it comes to tying the perfect bow?  Use knots instead of bows because of the frustration of making a bow that looks great?  

I have good news for you!  I now have the original Bow-Easy bow maker on my Etsy site Tattered Daisy HERE  .  Stop by now to order yours, and I'll send it right out to you, so you can start making your own perfect bows with no more struggles.  Scroll down for some of my cards with bows made with Bow-Easy, and visit my Flickr gallery HERE  to see my gallery of cards to see single, double, even triple bows I've made with the help of Bow-Easy.

 Bow-Easy Bow Maker For Cards and Crafts

Bow-Easy Bow
 Maker For Cards and Crafts
zoom
Bow-Easy 
Bow Maker For Cards and Crafts Bow-Easy 
Bow Maker For Cards and Crafts
Make mini bows for your cards and scrapbook pages, and other craft projects with ease.  Makes seven different size bows for your cards, scrapbook pages, and craft projects.  You will be making professional looking bows in no time. You'll wonder how you ever did without Bow-Easy! Full directions, and several online photo and video tutorial links.
Make single loop bows, even double, triple loops, and even four loop bows easily!! 


 I'm excited to finally be able to offer this tool on my Etsy site.  I have one dozen in stock, so it's first-come, first-serve.  Click the link above to Tattered Daisy, and let me know how many you want (they make a great gift for a crafting friend)!
Several good tutorial and video links are included with your Bow-Easy, as well as full directions.
Blessings,
lynda


Tuesday, May 24, 2011

Technique Tuesday - Perfect Pearls With Black Card Stock

Good morning!
I'm stripping/patching drywall/painting/papering my bathroom today, with the help of my dear friend, Sylvia.  I'm much rather be stamping/scrapbooking on my day off, but, alas, the bathroom can no longer be neglected!  I know I'll be thrilled when it's finished, so I'm keeping that goal in mind. 

Needing something quick for today's Technique Tuesday, I'm "borrowing" a technique from an old, old post on this blog.  It is a great technique for your black card stock, and since it has to do with black card stock, I thought it appropriate for this series, and worth repeating.  The full post with directions/tutorial is HERE

Next week is another fun technique with black card stock (which can actually be used with any color card stock, but I find it particularly stunning on black).

Perfect Pearls Technique on Black Card Stock
Butterfly painted with PP and water
Stamped with VersaMark and brushed with PP

.
Stamped with VersaMark and brushed with PP
I love the bold, pearlized look of the Perfect Pearls with the contrast of the black card stock.  It's striking and elegant, and a touch glitzy!  Fun technique.  You can get the directions on my previous post HERE .

OK, off to work in my bathroom!
Blessings,

lynda

Tuesday, May 17, 2011

Technique Tuesday - BLACK MAGIC - Black Card Stock with Prismacolor Pencils


Welcome to another Technique Tuesday!  Today's technique continues the series on techniques and tips for using black card stock.  Last week I used watercolor pencils on embossed image.  This week, I am using colored pencils (Berol Prismacolor is my brand of choice, due to it's soft lead) on white pigment inked images.  This is an old technique, which I taught years ago, and it is making a come-back now.  I've seen it referred to as "Black Magic" in forums and tutorials.  Here's how it looks:               

To create the image portions of these cards, I simply stamped my images (flower/bird) with ColorBox white pigment ink, and let it dry. Well, actually, I'm not a big fan of waiting for things to dry, so I hurried things along with my heat tool.  When the ink was dry, I colored over the white portions with my Berol PrismaColor colored pencils. I like this brand, as the lead is soft and creamy, and there are lots of colors in the line.  That's really all there is to it.  Here are some portions of my cards enlarged so you can see details.
Before and after coloring
I added white gel pen "doodles"


On this flower card, I used some of the seam binding which I hand-dyed (see THIS POST *HERE* ) for details and my tutorial on dying seam binding.  Bows were made with Bow-Easy, a plastic template which makes bow-making easy-peasy.                                                               GOOD NEWS:  I will have the Bow-Easy for sale in my Etsy Shop in a couple of weeks.  They are on order, and as soon as they arrive, I will be selling them.  If you are interested, let me know, and I will send you an email to let you know when they are in.  Or, just keep checking my Etsy site to see if they're in yet.  Here's the link to my Etsy site: Tattered Daisy on Etsy


And, before I sign off for today, I thought I'd share a couple of cards.  This first one is made by MaryRuth Owens.  She tried last week's technique of watercolor pencils on white embossing, and here's her card.  Isn't it so pretty!!! Love it, MaryRuth.  Thanks for sharing.     And...keep scrolling down for another lovely card........                                                                          
 I got this card in the mail yesterday, and just had to share it with you.  It's from my friend, Arlene Rose.  Arlene took her wheel stamps off the rollers, and shares the benefits of doing so on her blog.  Stop by and visit Arlene's blog, SundayStamperPapercrafts and let her know what you think. Here's her lovely card, and she used my favorite color combo!!  Thanks, Arlene!!

That's it for today!  
Blessings,
lynda

Tuesday, May 10, 2011

Technique Tuesday - Watercolor Pencil on Black Card Stock

Thinking of You Card
I really enjoy using black card stock, so thought I would do a series of posts on techniques you can do with black.  The look is striking, and really shows off the color of your stamped images.
This first technique in the black series is using watercolor pencils on an embossed image!  Who thought, right?  Well, the folks over at Magenta had a post on their blog about it here, so I had to try it out, being a Magenta girl, and all.  Here's my take on the technique: 
Here's how it's done:
  • Stamp an image onto black card stock using white pigment ink.  I used a static bag on the card stock first, so the powder would only stick where I wanted it to.
  • Apply white embossing powder, and heat to emboss.  Let cool.
  • Using watercolor pencils (NOT plain colored pencils),  simply color on the embossed areas.  The color will take, and it really pops, don't you think?  Love the look.
 I even did a little shading and blending, and was amazed how easy it was.

The stamps on my card are Impression-Obsession, and I entered this card in the IO challenge HERE.
The challenge was to use your favorite IO stamp (I used an image from my favorite clear stamp set CL124 Solid Florals.
I also entered it in the Card Patterns Sketch 114 Challenge HERE.  This is the sketch.

Hope you'll give it a try!

-------------------------------------

Other news:  My Etsy Shop, Tattered Daisy HERE is open, and I have added a few more items to it.  I'm adding more every couple of days, as I get the chance.  I didn't do anything with it over the weekend, or yesterday and today, as I went to my daughter's for Mother's Day.  She took me to see Wicked!!  I'm still singing the songs, and absolutely loved it!!  I'm working on an article about it, and will post it on my writing blog, A Little Perspective, when it is finished.  I shared my list of six promises I make to myself on my recent post there, if you'd like to check it out.

Then yesterday I worked and had a toothache all day and night, and today went to the dentist and was told I need a root canal, and have an infection in the molar where the pain is.  I'm on antibiotic, and can't wait to get this over with.  Dreading it, of course, but not a big fan of the pain either!  Had my prayer shawl group today, and went to work for a couple of hours.  Hope to get to posting more items in my shop tomorrow after work.
That's it for today.  Enjoy the lovely weather we are finally getting!

Blessings,
lynda

Tuesday, May 3, 2011

Technique Tuesday - Kraft Card Stock and Colored Pencil

I took my inspiration from Hero Arts blog this week, and created my card with kraft card stock.  I colored the images with colored pencils....still one of my very favorite mediums.  I love the control and various looks you can get with good colored pencils.  Here is my card:
I use Berol Prismacolor pencils.  The lead is soft, and they blend easily and go on smoothly.  If you do a lot of colored pencil work, it is worth investing in a good set of pencils.  You will be far happier with your results than with a cheaper set. 

Here's a closer view, so you can see the shading and highlighting.  I use three or four shades for each color/area I'm doing.  For example, for the flowers I used a soft peach, medium peach, darker peachy/rust, and finally a deep rust, with touches of brown.  I add white colored pencil "highlights" after all my other shading is finished.  The white highlights really make the images come alive, don't you think?
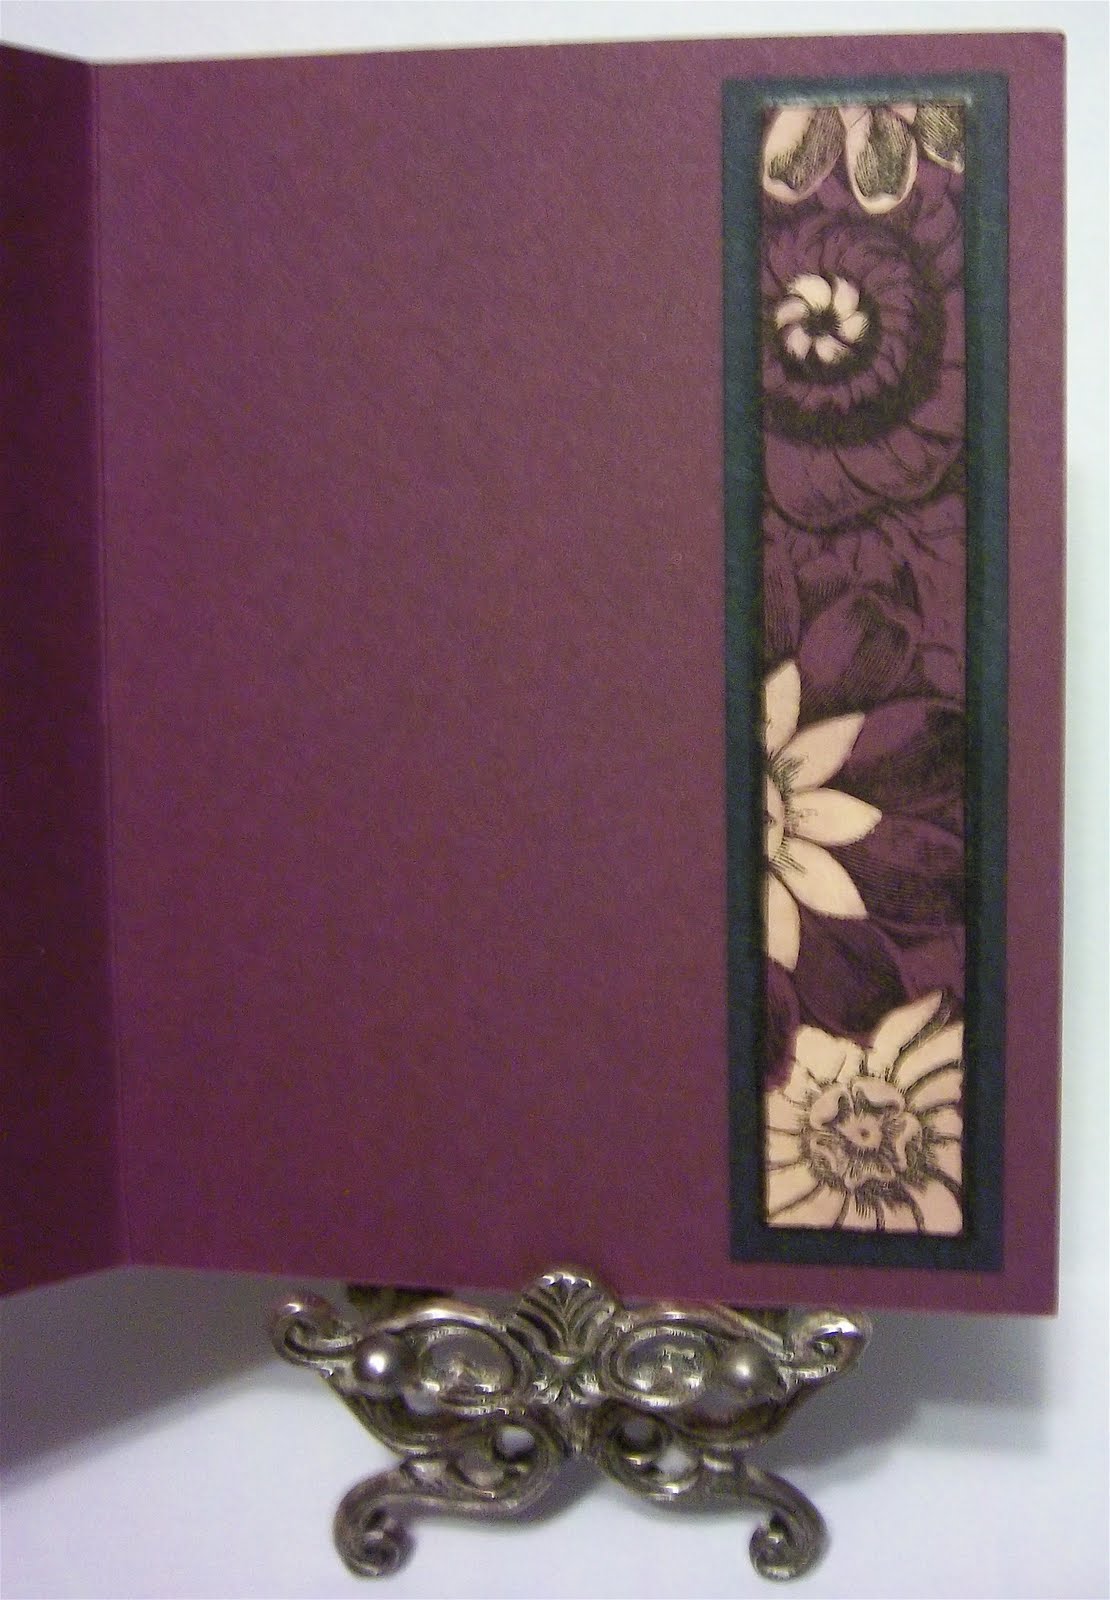
Here's the inside of the card:
The kraft card stock really is a terrific canvas to work on.  Colors look almost 3-D, and really show up.
Be sure to check out Hero Arts Club Blog here http://heroarts.com/blogs/club/2011/05/03/colored-pencils-kraft-paper-yum/ to see the pretty flowered background card they made with this technique.

I hope you will dig out your colored pencils and give them a try on kraft card stock!  So fun.
Stamps used on my card are by Flourishes.  I purchased them online here http://www.flourishes.org/ .  I really like their stamps. They have some lovely images.  The stamps are well made, also.  These stamps on my card are from two clear sets, and I'm loving them!!  Hop on over to check them out.

I entered this card in the following challenges:
Flourishes - Timeless Tuesday Flowers challenge here http://www.flourishes.org/category/challenges/
and
Stamp Something challenge here StampSomething Weekly Challenge Blog . The challenge was something with wings...I think this fits. 


And, now, finally, on to my news!!  Drumrollllll...........

I now have an Etsy shop!!   I have been working hard, setting up my shop, making my banner, etc., etc.  I think what took me the longest is coming up with a name that was not taken.  I had to have a name that encompasses ALL of my crafts and products, not just the cards and scrapbook pages.  I also make gift items and wedding accessories, like garters, flowers, money/card boxes, favors, etc.  I finally settled on my shop name, Tattered Daisy.  Daisies are my favorite flower, and tattered speaks to the distressed look I am partial to.  tee hee.

For those who are not familiar with Etsy, it's an online marketplace where people sell their hand made crafts.  Anyone can join, and it's free to join.  You can join just to shop, which is so fun, as there are so many extremely talented artists/crafters on there!!  You can also open a shop, if you choose.  You can read all about it on the site.

Please do stop by my Etsy shop for a look around.  Keep in mind, I only just opened it, and it takes time to get it all set up.  I have only entered four or five items so far, but have been taking pictures like crazy, and will be spending every free moment downloading to the shop.  This whole working thing really gets in the way of my creating!!!  But, I'm trying to be patient.  It will get filled up in no time.

The good news is, there is a place on Etsy to sell supplies that crafters use to make a craft.  What does that mean for us?  Welllll, it means that I can sell stamping/scrapping supplies on Etsy.  As long as it is an item that is used to make a craft, I can sell it.  So, in a few weeks, I hope to have some card kits, online classes, and some stamping items for sale in my shop.

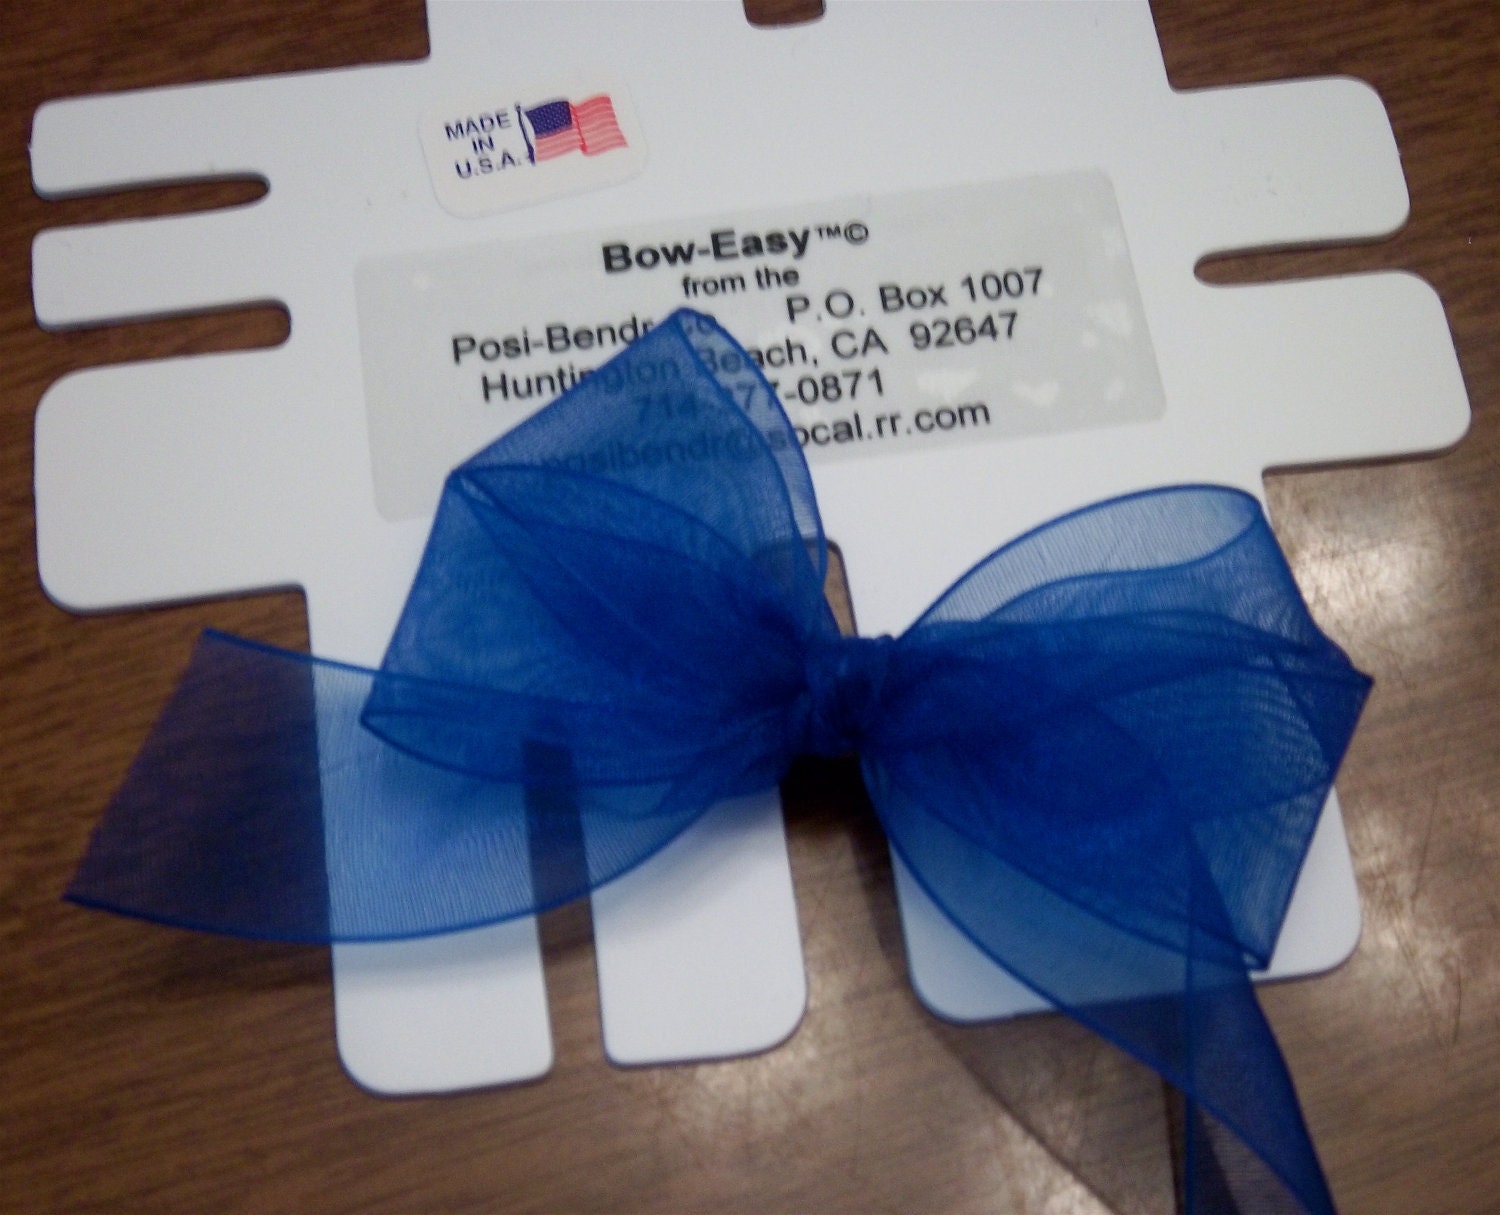
As a matter of fact, I just ordered the Bow-Easy!!  So many people have asked me how I make my bows.  I use Bow Easy to make all my pretty bows for my cards.  It makes seven sizes!  And is oh-so-easy to use.  You'll wonder how you ever did without it!  I will let you know when they come in, and I get them in the shop.

HERE'S THE LINK TO MY ETSY SHOP:  TatteredDaisy on Etsy  .  This link will take you to my profile.  Just scroll down the left side and you will see the word "shop."  Click on "Tattered Daisy" under that,  and it will bring you to my items for sale.  My shop policies are listed in the shop area on the left...just click on policies.

If you like what you see, please "heart" me there.  Would love to see you.

That's it for today.  Let's hope for an end to all this RAIN!!  My poor basement hasn't had a dry floor in weeks!!
Blessings,
lynda