Tuesday, June 28, 2011

Technique Tuesday - Quick & Easy Summery Card

Cool Colors For Summer Cards
I love to use cool colors when I make cards in the summer.  Cool colors on the color wheel make you feel relaxed, refreshed, and well, cool!  These colors are blues, greens, and purples.  They work well for summer cards, also.  
Today's technique card is quick and easy, and just a little bit different in design than the typical card.  
This card is simply three pieces of card stock....the blue card base, the green top, and the white panel where I stamped my image.   The blue card base is actually the back of the card.  The green piece was cut a little smaller than the blue piece, then I scored the green piece about 1/2" from the top, ripped the bottom to create a torn edge, then added three mini brads along the top.  Finally, I secured the piece to the blue card stock base.

The image was stamped with India Ink black pad, then watercolored.  To keep my daisy white, I added some blue paint around the outside of the petals.  The wave of sea green color under the phrase makes it pop.  I added the wide ribbon for fun, then added the stamped panel with foam tape.  
Easy, fun card, which uses only minimal pieces and embellishments!  Great for those quick notes.

The next picture shows the inside of the card (the inside is on the blue card base):
  For the inside sentiment, I added a piece of yellow patterned paper, on which I stamped the words.  I stamped the flower on scrap card stock, colored, and cut it out and adhered it.

That's it today.....keeping it simple, but still pretty and fun!

Enjoy your week, and be sure to get outside to catch some rays!!

Blessings,

lynda

Tuesday, June 21, 2011

Technique Tuesday - Watercolor with Distress Inks

Hi!  I'm back from Florida, and believe me when I say, I will NEVER move to Florida.  I honestly don't know how anyone can stand to live there.  It was HOT, HOT, HOT.  Suffocating and stifling.  So happy to be home, where although it is warm, it's not as bad, and we have lots of cool breaks, too.

I just returned Friday, and went to Buffalo for the weekend to see our granddaughter, Keeley, at her dance recital.  Returned Monday morning, and went right to work.  Then I started my new job today, and feeling extremely overwhelmed!!  Juggling two jobs right now, until my merchandising job phases out at the end of this week.  Trying to learn all the details of my new job is stressful, but I'm sure I'll catch on.  I am now working Monday thru Friday as our church's parish secretary/administrative assistant.  The timing of this opening was perfect!  I'm so grateful and thank God this came along.

So, for Technique Tuesday this week, I'm borrowing a technique from Hero Arts website.  It's called watercolor with distress inks.
This card is by Shari Carroll.  Isn't it just so lovely?  The full directions, including a video, can be found HERE at the Hero Arts website.  
I'm hoping to be back to "normal" by next week, and have a couple of techniques I can't wait to share with you.  

Blessings,

lynda

Tuesday, June 7, 2011

Technique Tuesday - Colored Card Stock with Bleach and Marker

Embossing, Bleach, and Marker Combine to Make Unique Card
Continuing on with last week's bleach-on-black idea, I thought I'd show bleach used on a colored card stock (blue), with the addition of marker for highlight and drama.
On this card, I stamped and embossed the flower image three times with black embossing.  This is the same image, just tilted at different angles, so it looks different.

On the top flower, I applied bleach with a small paint brush on the entire flower and leaf.  Then, I simply added an outline of blue marker around the outside of the flower, and green outline around the leaf and stem.  The line of marker around the bleached-out image makes it "pop," don't you think?  It almost looks 3-D.

On the second flower, I did just the opposite.  I colored the flower and leaf with marker, then I drew an outline of bleach around the outside with a paint brush with bleach on it.  This makes the colored image more dramatic, and makes it pop, as well.

The third flower was left uncolored, and I added a few strokes of blue and green marker along the inside border of the image.  Then I bleached out the background of the square the flower is on by painting the background with a brush with bleach.
After coloring/bleaching/drying the pieces, I simply trimmed them, leaving a scant border.  Then I arranged them on my stamped background.

I love the three entirely different looks I achieved with the bleach.  Combining them on one card is fun, as well. 

That's it for tonight.  Hope you'll get out some bleach and give it a try on your cards!

Oh, and a quick note.....I will be in Florida next week from Sunday AM until Friday.  I am visiting my aunt.  There will be no Technique Tuesday.  I will post when I return.

Blessings,
lynda

Tuesday, May 31, 2011

Technique Tuesday - Bleach With Black Card Stock

Using Bleach on Black or Dark Card Stock - 
Last technique in black card stock series
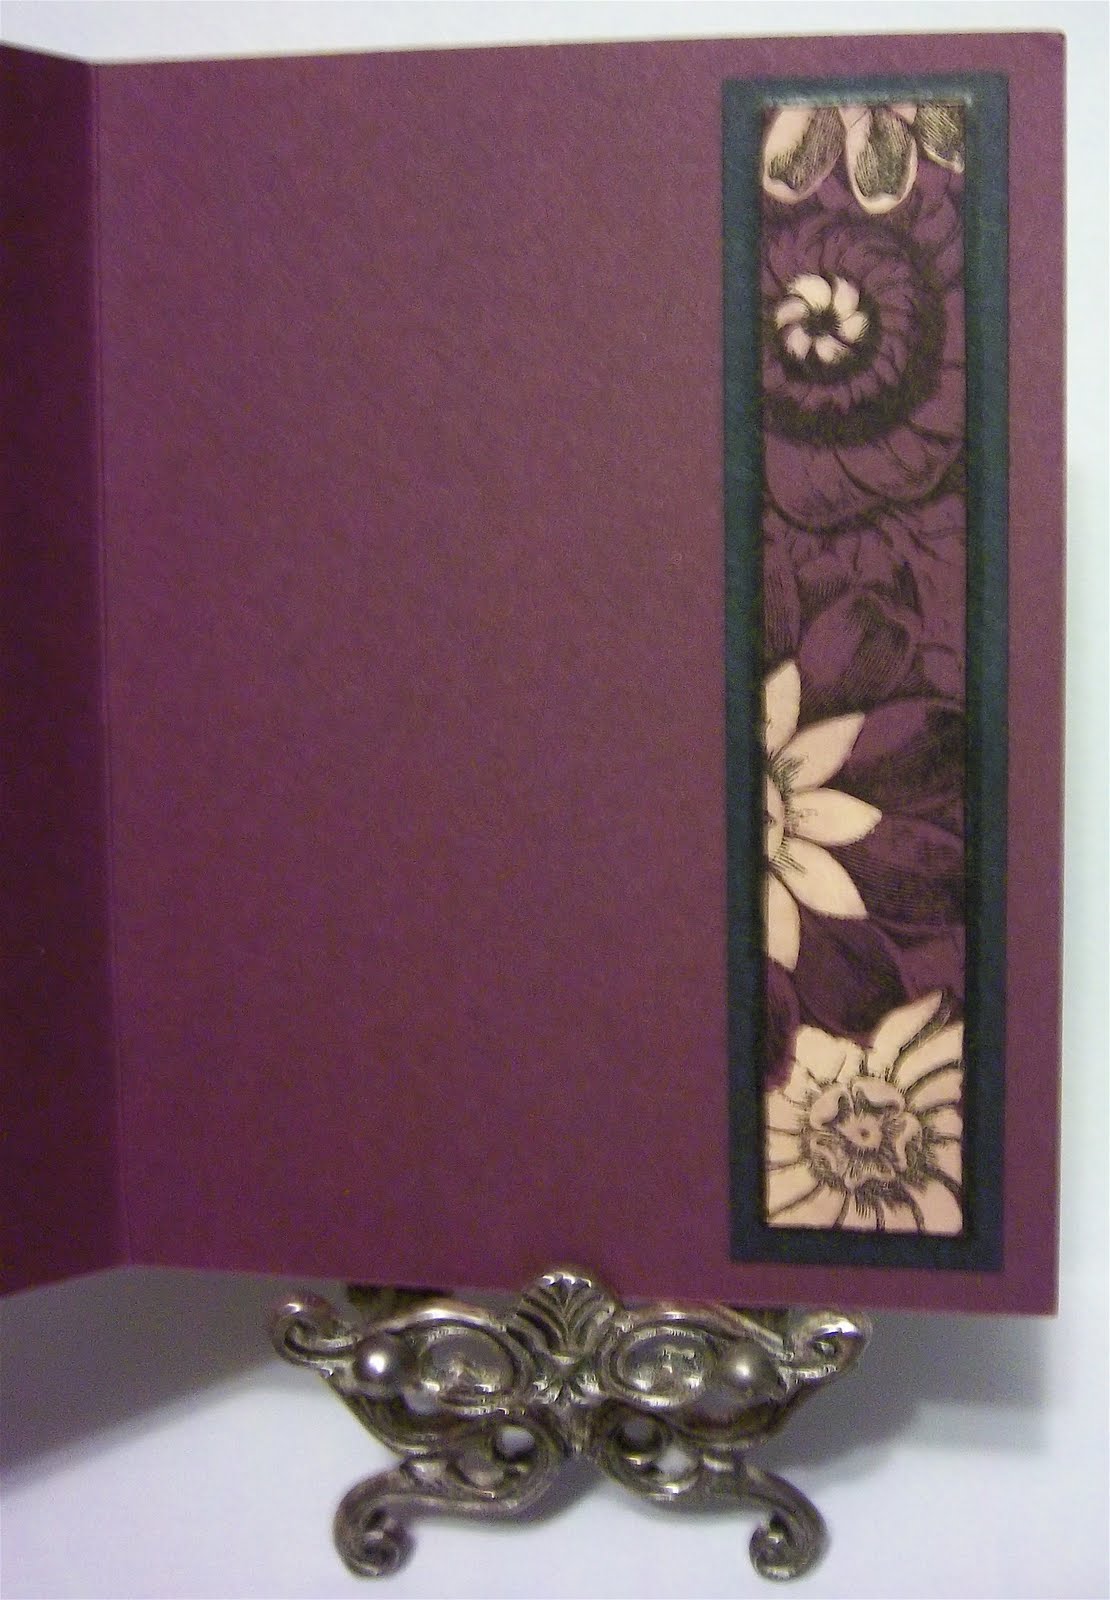
The black panels with the flowers on this card were done with this technique.  I took some black card stock scraps, "inked" my flower stamp using bleach, then stamped it onto the black scrap.  After dry, I cut the flowers into rectangles, layered, and added to my card.

It's easy to use bleach on your black and dark colored card stocks, and it yields a very dramatic look.  
I use a piece of Cut n' Dry for my "stamp pad."  
Put some bleach in a small bowl or container, then dab the piece of Cut n' Dry into the bleach.  
Have the pad wet with the bleach, but not dripping.  You want enough bleach to get the stamp covered with bleach, but no so much that it's dripping off the stamp.  
Dab your stamp onto the pad, or bring the pad to the stamp, then stamp the image onto your card stock. Hold the stamp down for a few seconds to enable the bleach to really get into the paper.
That's it!!!  Easy-peasy, and oh-so-fun!  
Give it a try....just be careful with the bleach...we all know what happens when bleach gets onto clothes!  Word of caution...wear something old!!  (ask me how I know).

On this card, I stamped the image with permanent black ink, then used a paint brush with bleach on it to paint out the bleach areas.  Just brush anywhere you want the color removed.
Inside of card with bleached panel
Close up of bleached flowers


This last piece is just a panel I did.  As I've been working on my bathroom (yes, STILL) all day (yep, in 90 degree heat) with my true friend Sylvia, I didn't have time to finish a card for this last piece.  But, I love the image, and the way it bleached out, so, here it is:

Close up of bleached flower
That's it for tonight, folks.  Thanks to everyone who ordered Bow-Easy's from my Etsy site.  I have only four left, so if you haven't ordered, hurry on over, or send me an email to arrange local delivery/pick up.  Here's the link to my Etsy site, Tattered Daisy http://www.etsy.com/people/TatteredDaisy?ref=si_pr .  Or email me at thestamppad@yahoo.com .  If I get enough orders, I will order more.  They take a couple of weeks to arrive when I place the order.

Now I'm off to soak in the bathtub!!!!

Blessings,
lynda

Thursday, May 26, 2011

Bow-Easy Makes Bow Making Easy and Fast

Greetings friends,

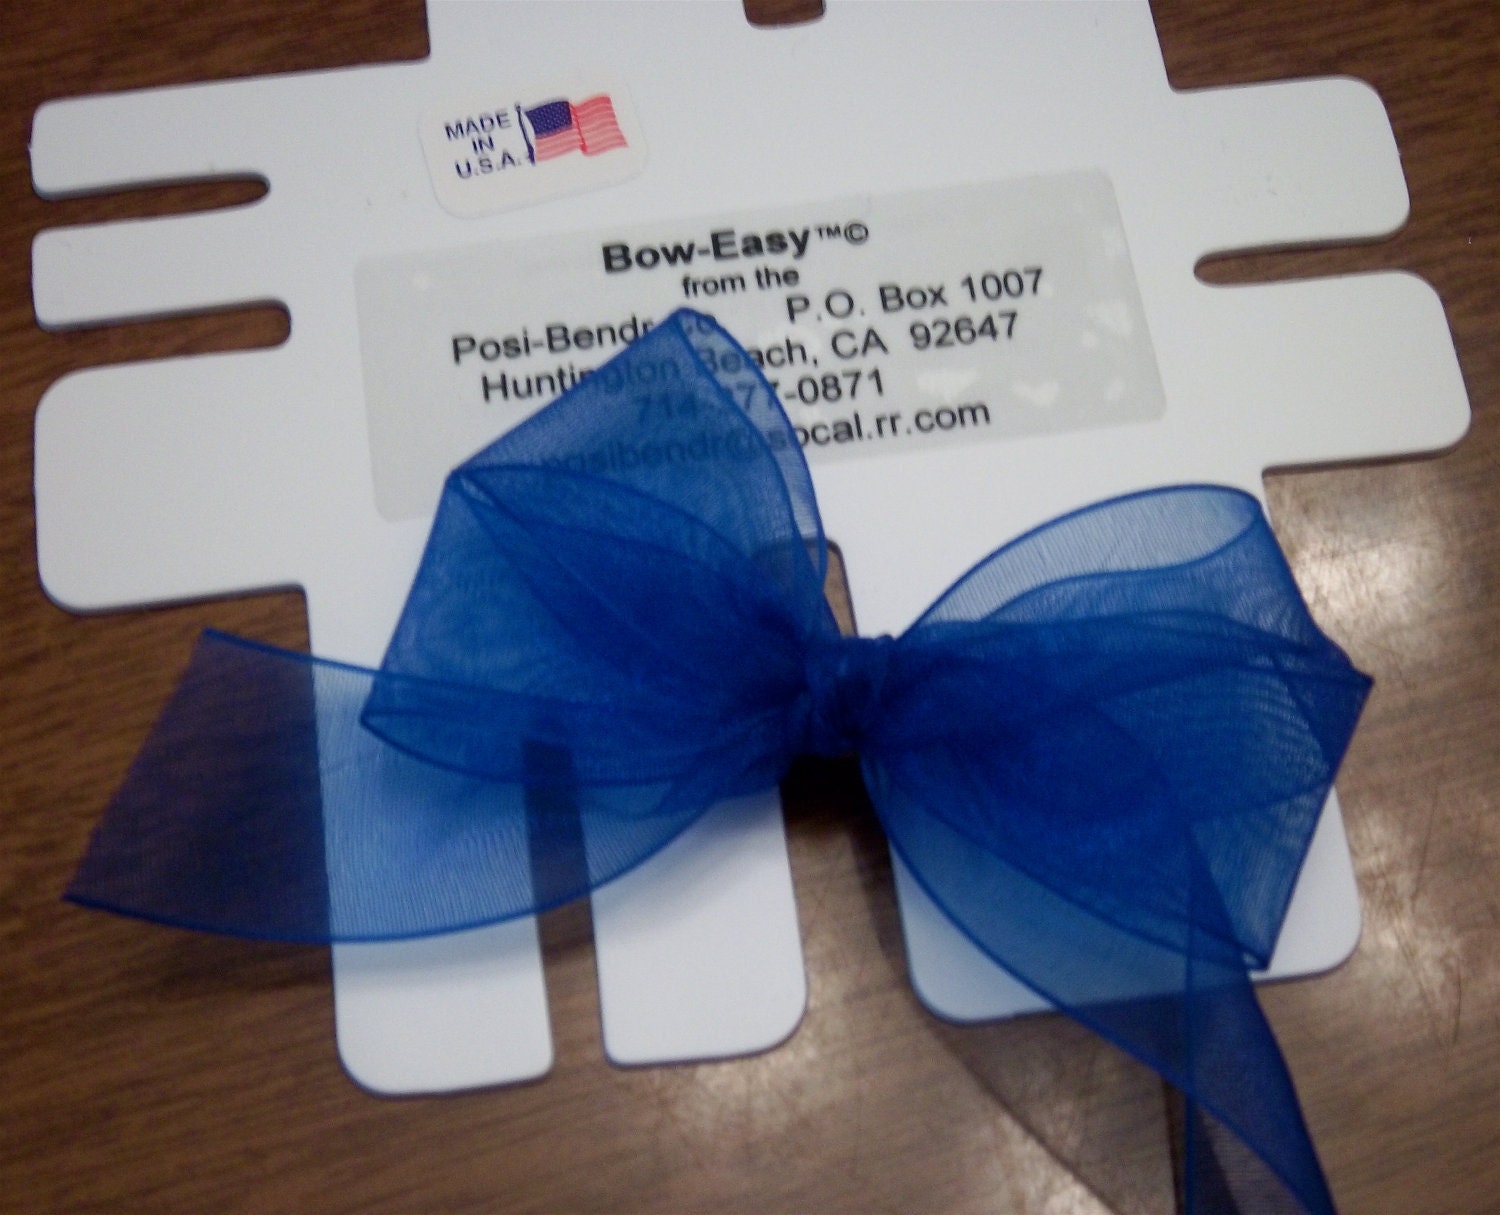
I have had so many inquiries about my bows that I use on my cards and projects, and have answered many pleas for help by directing you to the tool I use for all of my bows, the Bow-Easy.  Do you struggle with making small bows for your cards and paper crafts?  Feel "all thumbs" when it comes to tying the perfect bow?  Use knots instead of bows because of the frustration of making a bow that looks great?  

I have good news for you!  I now have the original Bow-Easy bow maker on my Etsy site Tattered Daisy HERE  .  Stop by now to order yours, and I'll send it right out to you, so you can start making your own perfect bows with no more struggles.  Scroll down for some of my cards with bows made with Bow-Easy, and visit my Flickr gallery HERE  to see my gallery of cards to see single, double, even triple bows I've made with the help of Bow-Easy.

 Bow-Easy Bow Maker For Cards and Crafts

Bow-Easy Bow
 Maker For Cards and Crafts
zoom
Bow-Easy 
Bow Maker For Cards and Crafts Bow-Easy 
Bow Maker For Cards and Crafts
Make mini bows for your cards and scrapbook pages, and other craft projects with ease.  Makes seven different size bows for your cards, scrapbook pages, and craft projects.  You will be making professional looking bows in no time. You'll wonder how you ever did without Bow-Easy! Full directions, and several online photo and video tutorial links.
Make single loop bows, even double, triple loops, and even four loop bows easily!! 


 I'm excited to finally be able to offer this tool on my Etsy site.  I have one dozen in stock, so it's first-come, first-serve.  Click the link above to Tattered Daisy, and let me know how many you want (they make a great gift for a crafting friend)!
Several good tutorial and video links are included with your Bow-Easy, as well as full directions.
Blessings,
lynda


Tuesday, May 24, 2011

Technique Tuesday - Perfect Pearls With Black Card Stock

Good morning!
I'm stripping/patching drywall/painting/papering my bathroom today, with the help of my dear friend, Sylvia.  I'm much rather be stamping/scrapbooking on my day off, but, alas, the bathroom can no longer be neglected!  I know I'll be thrilled when it's finished, so I'm keeping that goal in mind. 

Needing something quick for today's Technique Tuesday, I'm "borrowing" a technique from an old, old post on this blog.  It is a great technique for your black card stock, and since it has to do with black card stock, I thought it appropriate for this series, and worth repeating.  The full post with directions/tutorial is HERE. 

Next week is another fun technique with black card stock (which can actually be used with any color card stock, but I find it particularly stunning on black).

Perfect Pearls Technique on Black Card Stock
Butterfly painted with PP and water
Stamped with VersaMark and brushed with PP

.
Stamped with VersaMark and brushed with PP
I love the bold, pearlized look of the Perfect Pearls with the contrast of the black card stock.  It's striking and elegant, and a touch glitzy!  Fun technique.  You can get the directions on my previous post HERE .

OK, off to work in my bathroom!
Blessings,

lynda

Tuesday, May 17, 2011

Technique Tuesday - BLACK MAGIC - Black Card Stock with Prismacolor Pencils


Welcome to another Technique Tuesday!  Today's technique continues the series on techniques and tips for using black card stock.  Last week I used watercolor pencils on embossed image.  This week, I am using colored pencils (Berol Prismacolor is my brand of choice, due to it's soft lead) on white pigment inked images.  This is an old technique, which I taught years ago, and it is making a come-back now.  I've seen it referred to as "Black Magic" in forums and tutorials.  Here's how it looks:               

To create the image portions of these cards, I simply stamped my images (flower/bird) with ColorBox white pigment ink, and let it dry. Well, actually, I'm not a big fan of waiting for things to dry, so I hurried things along with my heat tool.  When the ink was dry, I colored over the white portions with my Berol PrismaColor colored pencils. I like this brand, as the lead is soft and creamy, and there are lots of colors in the line.  That's really all there is to it.  Here are some portions of my cards enlarged so you can see details.
Before and after coloring
I added white gel pen "doodles"


On this flower card, I used some of the seam binding which I hand-dyed (see THIS POST *HERE* ) for details and my tutorial on dying seam binding.  Bows were made with Bow-Easy, a plastic template which makes bow-making easy-peasy.                                                               GOOD NEWS:  I will have the Bow-Easy for sale in my Etsy Shop in a couple of weeks.  They are on order, and as soon as they arrive, I will be selling them.  If you are interested, let me know, and I will send you an email to let you know when they are in.  Or, just keep checking my Etsy site to see if they're in yet.  Here's the link to my Etsy site: Tattered Daisy on Etsy . 


And, before I sign off for today, I thought I'd share a couple of cards.  This first one is made by MaryRuth Owens.  She tried last week's technique of watercolor pencils on white embossing, and here's her card.  Isn't it so pretty!!! Love it, MaryRuth.  Thanks for sharing.     And...keep scrolling down for another lovely card........                                                                          
 I got this card in the mail yesterday, and just had to share it with you.  It's from my friend, Arlene Rose.  Arlene took her wheel stamps off the rollers, and shares the benefits of doing so on her blog.  Stop by and visit Arlene's blog, SundayStamperPapercrafts and let her know what you think. Here's her lovely card, and she used my favorite color combo!!  Thanks, Arlene!!

That's it for today!  
Blessings,
lynda

Tuesday, May 10, 2011

Technique Tuesday - Watercolor Pencil on Black Card Stock

Thinking of You Card
I really enjoy using black card stock, so thought I would do a series of posts on techniques you can do with black.  The look is striking, and really shows off the color of your stamped images.
This first technique in the black series is using watercolor pencils on an embossed image!  Who thought, right?  Well, the folks over at Magenta had a post on their blog about it here, so I had to try it out, being a Magenta girl, and all.  Here's my take on the technique: 
Here's how it's done:
  • Stamp an image onto black card stock using white pigment ink.  I used a static bag on the card stock first, so the powder would only stick where I wanted it to.
  • Apply white embossing powder, and heat to emboss.  Let cool.
  • Using watercolor pencils (NOT plain colored pencils),  simply color on the embossed areas.  The color will take, and it really pops, don't you think?  Love the look.
 I even did a little shading and blending, and was amazed how easy it was.

The stamps on my card are Impression-Obsession, and I entered this card in the IO challenge HERE.
The challenge was to use your favorite IO stamp (I used an image from my favorite clear stamp set CL124 Solid Florals.
I also entered it in the Card Patterns Sketch 114 Challenge HERE.  This is the sketch.

Hope you'll give it a try!

-------------------------------------

Other news:  My Etsy Shop, Tattered Daisy HERE is open, and I have added a few more items to it.  I'm adding more every couple of days, as I get the chance.  I didn't do anything with it over the weekend, or yesterday and today, as I went to my daughter's for Mother's Day.  She took me to see Wicked!!  I'm still singing the songs, and absolutely loved it!!  I'm working on an article about it, and will post it on my writing blog, A Little Perspective, when it is finished.  I shared my list of six promises I make to myself on my recent post there, if you'd like to check it out.

Then yesterday I worked and had a toothache all day and night, and today went to the dentist and was told I need a root canal, and have an infection in the molar where the pain is.  I'm on antibiotic, and can't wait to get this over with.  Dreading it, of course, but not a big fan of the pain either!  Had my prayer shawl group today, and went to work for a couple of hours.  Hope to get to posting more items in my shop tomorrow after work.
That's it for today.  Enjoy the lovely weather we are finally getting!

Blessings,
lynda

Tuesday, May 3, 2011

Technique Tuesday - Kraft Card Stock and Colored Pencil

I took my inspiration from Hero Arts blog this week, and created my card with kraft card stock.  I colored the images with colored pencils....still one of my very favorite mediums.  I love the control and various looks you can get with good colored pencils.  Here is my card:
I use Berol Prismacolor pencils.  The lead is soft, and they blend easily and go on smoothly.  If you do a lot of colored pencil work, it is worth investing in a good set of pencils.  You will be far happier with your results than with a cheaper set. 

Here's a closer view, so you can see the shading and highlighting.  I use three or four shades for each color/area I'm doing.  For example, for the flowers I used a soft peach, medium peach, darker peachy/rust, and finally a deep rust, with touches of brown.  I add white colored pencil "highlights" after all my other shading is finished.  The white highlights really make the images come alive, don't you think?
Here's the inside of the card:
The kraft card stock really is a terrific canvas to work on.  Colors look almost 3-D, and really show up.
Be sure to check out Hero Arts Club Blog here http://heroarts.com/blogs/club/2011/05/03/colored-pencils-kraft-paper-yum/ to see the pretty flowered background card they made with this technique.

I hope you will dig out your colored pencils and give them a try on kraft card stock!  So fun.
Stamps used on my card are by Flourishes.  I purchased them online here http://www.flourishes.org/ .  I really like their stamps. They have some lovely images.  The stamps are well made, also.  These stamps on my card are from two clear sets, and I'm loving them!!  Hop on over to check them out.

I entered this card in the following challenges:
Flourishes - Timeless Tuesday Flowers challenge here http://www.flourishes.org/category/challenges/
and
Stamp Something challenge here StampSomething Weekly Challenge Blog . The challenge was something with wings...I think this fits. 


And, now, finally, on to my news!!  Drumrollllll...........

I now have an Etsy shop!!   I have been working hard, setting up my shop, making my banner, etc., etc.  I think what took me the longest is coming up with a name that was not taken.  I had to have a name that encompasses ALL of my crafts and products, not just the cards and scrapbook pages.  I also make gift items and wedding accessories, like garters, flowers, money/card boxes, favors, etc.  I finally settled on my shop name, Tattered Daisy.  Daisies are my favorite flower, and tattered speaks to the distressed look I am partial to.  tee hee.

For those who are not familiar with Etsy, it's an online marketplace where people sell their hand made crafts.  Anyone can join, and it's free to join.  You can join just to shop, which is so fun, as there are so many extremely talented artists/crafters on there!!  You can also open a shop, if you choose.  You can read all about it on the site.

Please do stop by my Etsy shop for a look around.  Keep in mind, I only just opened it, and it takes time to get it all set up.  I have only entered four or five items so far, but have been taking pictures like crazy, and will be spending every free moment downloading to the shop.  This whole working thing really gets in the way of my creating!!!  But, I'm trying to be patient.  It will get filled up in no time.

The good news is, there is a place on Etsy to sell supplies that crafters use to make a craft.  What does that mean for us?  Welllll, it means that I can sell stamping/scrapping supplies on Etsy.  As long as it is an item that is used to make a craft, I can sell it.  So, in a few weeks, I hope to have some card kits, online classes, and some stamping items for sale in my shop.

As a matter of fact, I just ordered the Bow-Easy!!  So many people have asked me how I make my bows.  I use Bow Easy to make all my pretty bows for my cards.  It makes seven sizes!  And is oh-so-easy to use.  You'll wonder how you ever did without it!  I will let you know when they come in, and I get them in the shop.

HERE'S THE LINK TO MY ETSY SHOP:  TatteredDaisy on Etsy  .  This link will take you to my profile.  Just scroll down the left side and you will see the word "shop."  Click on "Tattered Daisy" under that,  and it will bring you to my items for sale.  My shop policies are listed in the shop area on the left...just click on policies.

If you like what you see, please "heart" me there.  Would love to see you.

That's it for today.  Let's hope for an end to all this RAIN!!  My poor basement hasn't had a dry floor in weeks!!
Blessings,
lynda

Tuesday, April 26, 2011

Technique Tuesday - Lilies of the Valley Card

It's Tuesday already!  I hope you all had a lovely Easter/spring weekend (in spite of the weather).  We went to Buffalo to visit the kids Saturday, and stayed until Sunday afternoon.  We had a delicious ham dinner Saturday night.   The Easter egg hunt commenced early Sunday morning, as we had to be at church at 9 AM!  There was a lot of scrambling with four adults, a child, and a baby to get ready!  We managed to get to church (early even), and enjoyed what I consider the most joyful Easter morning service I have ever attended!
Then we had brunch with Faith, Dan, Keeley, and Kennedy; played some games with Keeley, squeezed and smooched Kennedy to pieces, and finally headed back home to spend the rest of the day with Dan's mom and family.  Phew!  Busy weekend, but very, very enjoyable.  It seems more difficult each time I have to leave Buffalo to come home!  Hate leaving the little ones for two to three weeks at a time.  Now with gasoline prices rising, our weekend trips will have to be spread out a little more.  Thank goodness for Skype and telephones!  At least I can talk to them every day!
Easter Card
Now, on to today's card.  This was my Easter card this year, and I thought I'd share it with you.  I stamped the lilies of the valley with green Vivid ink on watercolor paper.  I tried several methods for coloring, and ended up coloring with pastel pencils for the look I liked best.  To see how to use these pastel pencils, see my blog post HERE. (February 22nd post).
To make the little flower bells white, I simply left them uncolored, and added a little "halo" of orchid color around the outside of each little bell.  That made the little flowers pop and stand out more.  The border around the die cut panel is Liquid Pearls.
In case you missed it last week, my tip for smoothing the tops of the pearl dots (mine always have little peaks on them), simply give the card a little tap or snap with your finger from underneath when you have finished applying all your pearl dots.  This will cause the peak to smooth out, and create pretty little pearl-like accents.
Stamps are by Our Daily Bread.

I am still working on my little project that I mentioned in my previous post.  I hope to be finished by the weekend.  I'm anxious to get it going.  Today was my day off, but much of the time I had planned to spend on it today got taken up with mopping, and mopping, and mopping again and again, the basement floor.  The unceasing rain has caused the basement to leak a little on the floor.  As fast as I could mop it up, more water would appear.  At least it's only small puddles here and there, and not a flood, like so many of our country's other states are enduring.  I'm thankful for that.
I wish you a fantastic week!  May your blessings be many.
lynda

Tuesday, April 19, 2011

Technique Tuesday - Resist With Distress Inks

Distress Inks - Resist
I just love this Hero Arts field of flowers stamp!  There is so much you can do with it.  Here, I chose to emboss it with white embossing powder, then sponged on distress inks with Tim Holtz's Inksentials ink applicators.  Simply attach a clean sponge rectangle to the applicator, dab into ink, then using circular motions, rub onto the card, directly over the embossed area.  Wipe off with a paper towel to clean the ink off the embossing, and Voila!  The embossing resists the ink!

Distress Inks
 I used Bundled Sage, Tattered Rose, Spiced Marmalade, and Victorian Velvet.   Flower centers are lemon yellow Liquid Pearls.  TIP:  after applying the Liquid Pearls, "snap" the card from underneath with your finger, or tap onto counter top or table, and the pointy tips of the dots you made will smooth out, and make perfect little pearl shapes!
That's it!  Just finish off the card, and embellish.  Easy-peasy, and ever so elegant.
Double bow made with Bow-Easy.  Hat pin with some beads for accent.
Stay tuned this week for more with this stamp!


 Card Challenges

I entered this card in the Card Patterns Sketch Challenge HERE.
This is the sketch. 

 AND
Moxie Fab World Tuesday Trigger Challenge HERE.  This Martha Stewart crepe bouquet is the trigger.

Hop on over to these challenge blogs and check them out.  There are some fantastic design team cards posted on both, and even some prizes for the winner.  Hope to see you there!

I was hoping to have a happy announcement, but I've been down with a debilitating headache and Fibro pain these past few days, and was unable to do anything creative....or anything much at all, for that matter.  Today I am starting to feel a little better, so was able to get this card made and this blog post up.  Starting to really hurt now, so will have to cut this short.
Stay tuned for my announcement, either late this week or next week.  Don't know how much I'll get done this week, with it being holy week and Easter Sunday.  But, next week, God willing, I will be able to work on my project.
Happy Easter to those who celebrate, and Happy Spring to everyone!  It is coming, really!
Blessings,
lynda